In today’s digital age, having a website is essential for personal branding, business growth, or sharing your passion with the world. Whether you’re launching a blog, an online store, or a portfolio, creating a website has never been more accessible—even for beginners. This 3,000-word guide will walk you through every step of the process, from choosing a domain name to launching your site and maintaining it for long-term success.
1. Define Your Website’s Purpose and Goals
Before diving into technical details, clarify your website’s purpose. Ask yourself:
- What is the primary goal? (e.g., Sell products, share content, showcase work)
- Who is your target audience?
- What action do you want visitors to take? (e.g., Subscribe, purchase, contact you)
For example, a freelance photographer’s site might prioritize visual portfolios and booking inquiries, while an e-commerce store focuses on product listings and checkout functionality. Defining these goals early ensures your design and content align with your vision.
2. Choose a Domain Name
Your domain name is your website’s digital address (e.g., www.yourbusiness.com). Follow these tips:
- Keep it short and memorable: Avoid complex spellings or hyphens.
- Use keywords: Incorporate terms related to your niche (e.g., “HealthyBites” for a wellness blog).
- Check availability: Use tools like Namecheap or GoDaddy to verify if your desired name is free.
- Pick the right extension: While .com is ideal, consider .net, .org, or niche extensions like .tech or .store.
Once you’ve settled on a name, register it through a domain registrar. Prices typically range from $10–$20/year.
3. Select a Web Hosting Provider
Web hosting is where your website’s files are stored. Key hosting types include:
- Shared Hosting: Affordable ($3–$10/month) but shares server resources. Ideal for small sites.
- VPS Hosting: More power and control ($20–$50/month). Suitable for growing websites.
- Dedicated Hosting: Full server access ($80+/month). Best for high-traffic sites.
- Managed WordPress Hosting: Optimized for WordPress users, with automatic updates and security.
Popular providers like Bluehost, SiteGround, and HostGator offer user-friendly plans with 24/7 support. Look for features like SSL certificates (for security), uptime guarantees, and one-click WordPress installs.
4. Choose a Website Building Platform
Your platform (or CMS) determines how you’ll design and manage your site. Compare options:
WordPress.org
- Pros: Highly customizable, 60,000+ plugins, SEO-friendly.
- Cons: Requires technical setup.
- Best for: Blogs, business sites, and advanced users.
Wix
- Pros: Drag-and-drop editor, 500+ templates.
- Cons: Limited scalability.
- Best for: Simple portfolios or small businesses.
Squarespace
- Pros: Stunning templates, all-in-one hosting.
- Cons: Fewer third-party integrations.
- Best for: Creatives and visually-driven sites.
Shopify
- Pros: Built for e-commerce, secure payment gateways.
- Cons: Transaction fees.
- Best for: Online stores.
For most users, WordPress.org offers the best balance of flexibility and control.
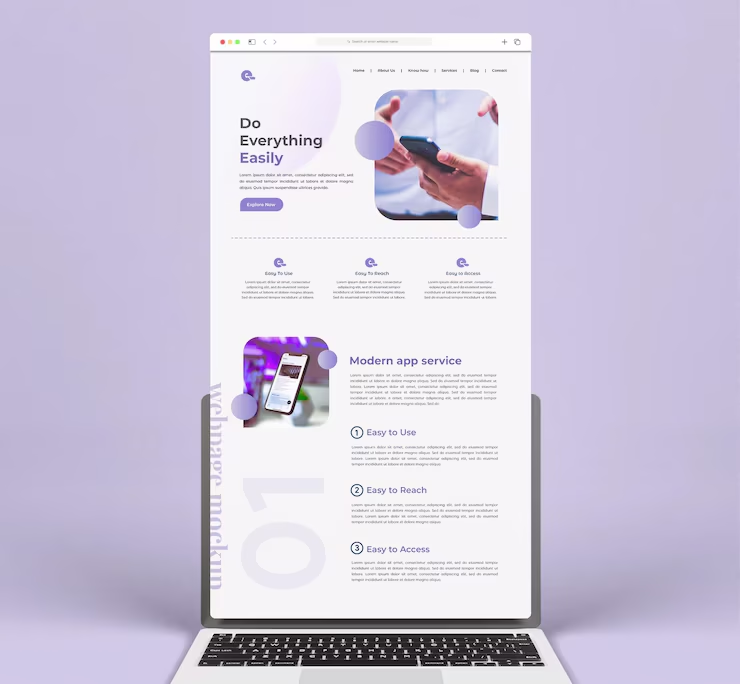
5. Design Your Website
A well-designed site keeps visitors engaged. Follow these steps:
Pick a Theme/Template
Choose a responsive (mobile-friendly) theme that aligns with your brand. Marketplaces like ThemeForest or Astra for WordPress offer thousands of options.
Customize Layout and Branding
- Colors and Fonts: Use tools like Coolors.co to create a cohesive palette.
- Logo: Design one with Canva or hire a freelancer.
- Navigation: Ensure menus are intuitive (e.g., Home, About, Services, Contact).
Optimize User Experience (UX)
- Speed: Compress images with TinyPNG and enable caching.
- Mobile Responsiveness: Test your site on phones and tablets.
- Accessibility: Add alt text to images and ensure text contrasts with the background.
6. Create and Optimize Content
Compelling content drives traffic and conversions.
Write SEO-Friendly Copy
- Research keywords: Use tools like Ahrefs or Ubersuggest to find terms your audience searches for.
- Structure content: Use headers (H1, H2), short paragraphs, and bullet points.
- Meta tags: Craft unique titles and descriptions for each page.
Add Visuals
- Use high-quality images from Unsplash or Shutterstock.
- Embed videos to demonstrate products or services.
Include Calls-to-Action (CTAs)
Guide visitors with buttons like “Buy Now,” “Subscribe,” or “Contact Us.”
7. Test Your Website
Before launching, ensure everything works seamlessly:
- Functionality: Test forms, links, and checkout processes.
- Speed: Aim for a load time under 3 seconds using GTmetrix or Google PageSpeed Insights.
- Cross-Browser Testing: Check compatibility on Chrome, Safari, Firefox, and Edge.
- Proofread: Fix typos and broken links.
8. Launch Your Website
Once testing is complete:
- Backup Your Site: Use plugins like UpdraftPlus (WordPress).
- Go Live: Update DNS settings to point your domain to your hosting server.
- Submit to Search Engines: Use Google Search Console for indexing.
- Announce Your Launch: Share on social media, email newsletters, and forums.
9. Maintain and Update Regularly
Keep your site secure and relevant:
- Update Software: Install CMS, theme, and plugin updates.
- Monitor Analytics: Track traffic with Google Analytics.
- Backup Weekly: Protect against data loss.
- Refresh Content: Add blog posts, update product listings, and prune outdated pages.
Conclusion
Building a website may seem daunting, but breaking it into manageable steps simplifies the process. From choosing a domain name to optimizing for SEO, each phase contributes to a professional, functional online presence. Remember, your website is a living project—regular updates and engagement will help it grow alongside your goals.
Ready to start? Pick a platform, unleash your creativity, and watch your digital vision come to life!